#Thegreatpoolpondconversion - 200419
When something clicks, it really clicks.
Before the first wall fell we needed to have it to support the spillway rock.
Then we were going to have to figure how to ‘weave’ in the other three walls around the tank.
Now that we settled on the cantilever design, we’re going round and round the tank, level by level more or less.
It’s way more stable. Much easier and faster to build and will be stronger in the end.
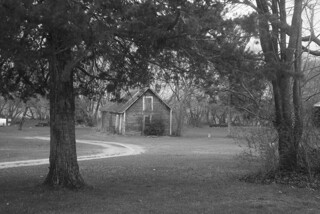
Here’s the work space:

We’re back to heat being a factor again. It was 96 today, so out came the gazebo.
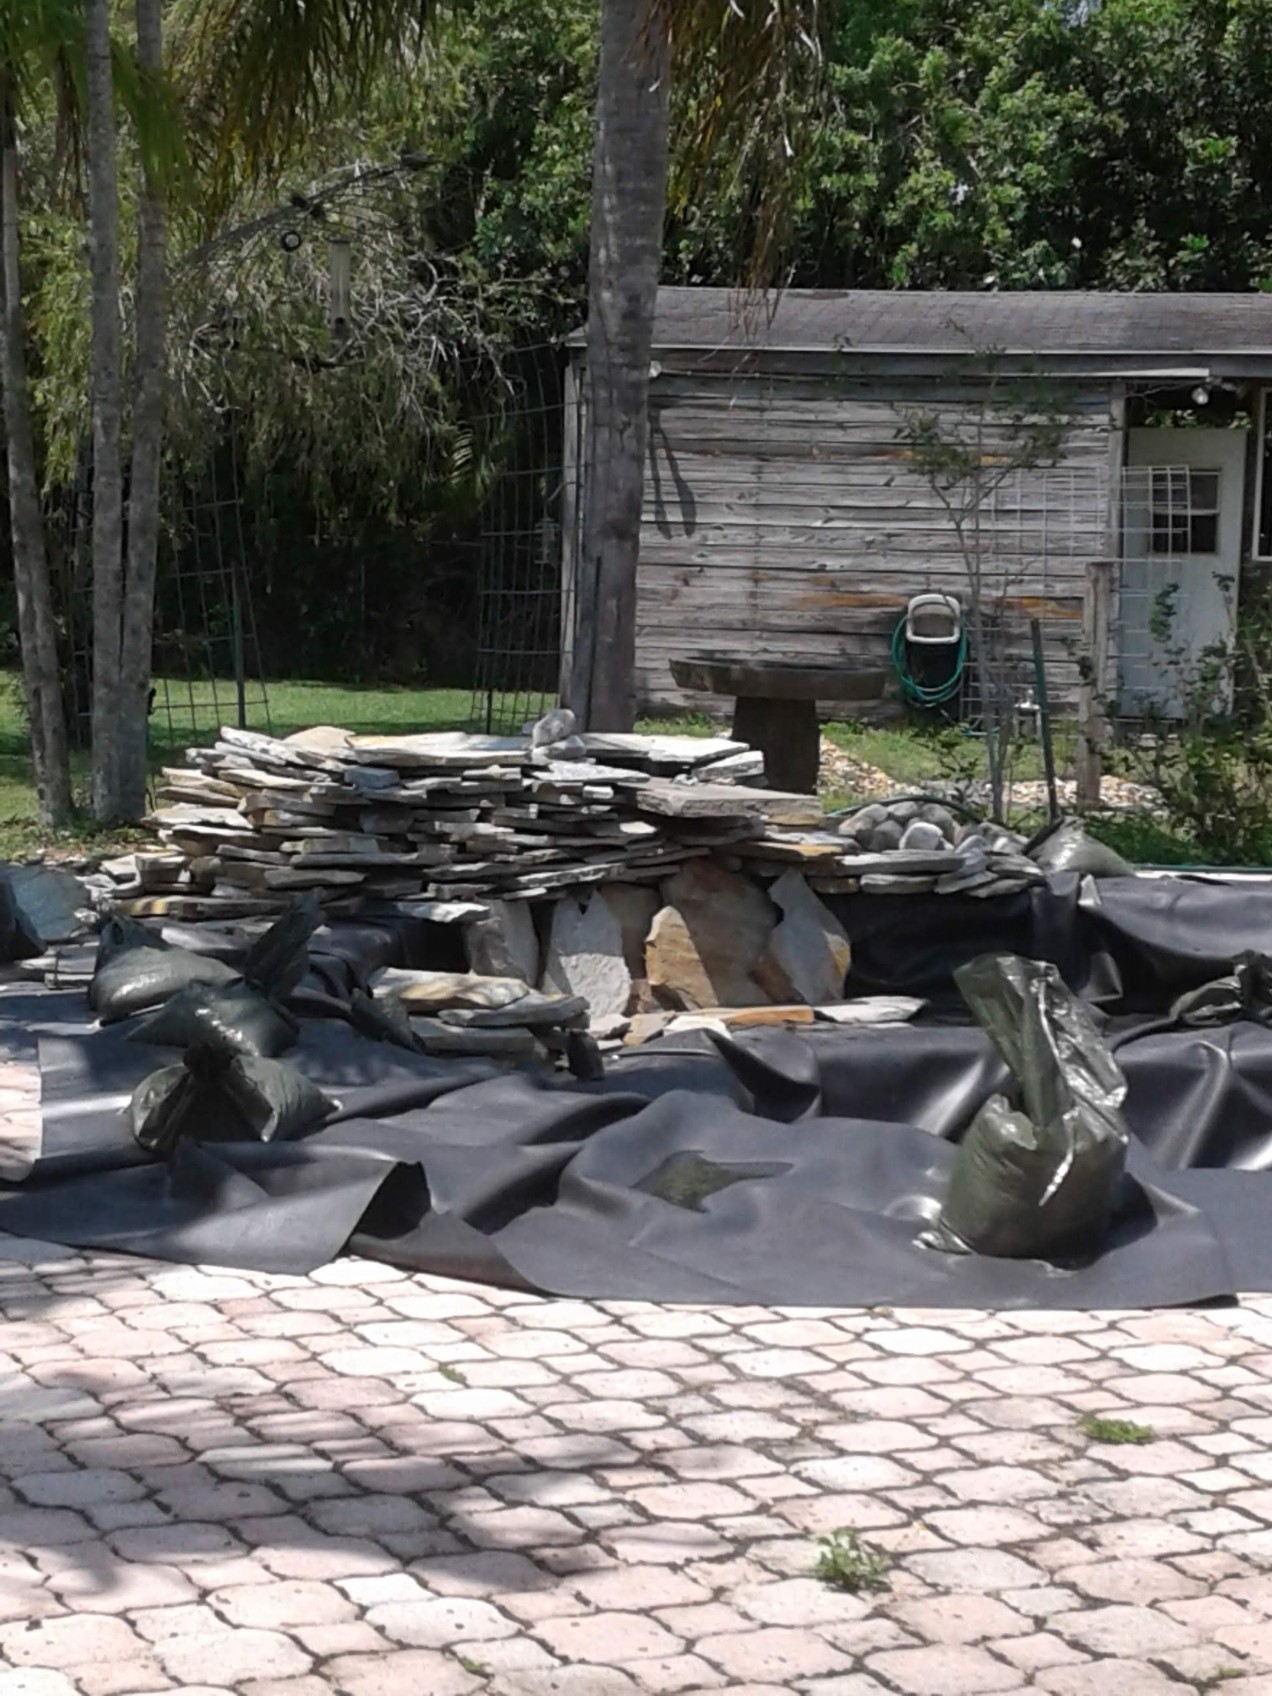
No more tank. Would you know there was a horse trough and a pump under all that?

Finished spillway with detail accents:

From the back side

It may look like a pile of rocks. Wait till we integrate the rest of the border.

Q; What’s heavier, a ton of sand or a ton of rock?
A: Likely it’s whatever you just finished lifting and shifting.
Between last week and this we washed and moved 1 1/2 tons of rock.
Near the bottom of the pallet we found some huge, gorgeous slabs among the more ordinary and manageable sized stuff.
We’re gonna have to find something extra special to do with them.
We used about 3/4 of a ton to rock in the tank.
The rest that we prepped and moved will be used when we start the border.
Before we do that that we’re going to fill in and ‘seascape’ the channel at the bottom and the shelves.
A bunch of the river rock we reclaimed months ago from the beds in the front (remember the cactus) will go into the bottom channel.
Over that will be a layer of lava rock. It’s rough and has nooks and crannies just perfect for algae to grow.
Over the lava rock will be a layer of decorative, more color matched pebbles.
Working from the bottom up we can ensure that the liner is tucked and folded and formed correctly.
If we worked top down, we could end up with extra creases and folds we don’t want.
At the end of the day there was welcomed Advil all around.
Here’s an index of all the postings in #thegreatpoolpondconversion