Photoshop Dehaze AKA Marginal Outdoor Image Rescue Feature
Okay, sometimes it’s smart to keep your tricks to yourself. Keep the mystery alive. Well with all due respect to that you guys are a pretty sharp crowd. Well educated etc. Photoshop skills abound here. So with apologies to those of you very familiar with this relatively new tool check this out. I might be about to help you rescue some favorite vacation cell phone pics.
Some weeks ago I was out experimenting with neutral density filtration and keeping shadow detail where the bright areas are vastly brighter. Maybe eight or ten stops in exposure terms. I had paged a nice image of the sunset. It was a very hazy day and my location offered nice contrasted ridges fading into the distance. Perfect for the following.
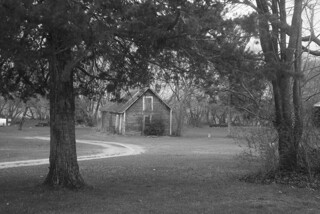
Original image, straight from raw, Of course some processing happens just getting to jpeg but lets not worry about that now.
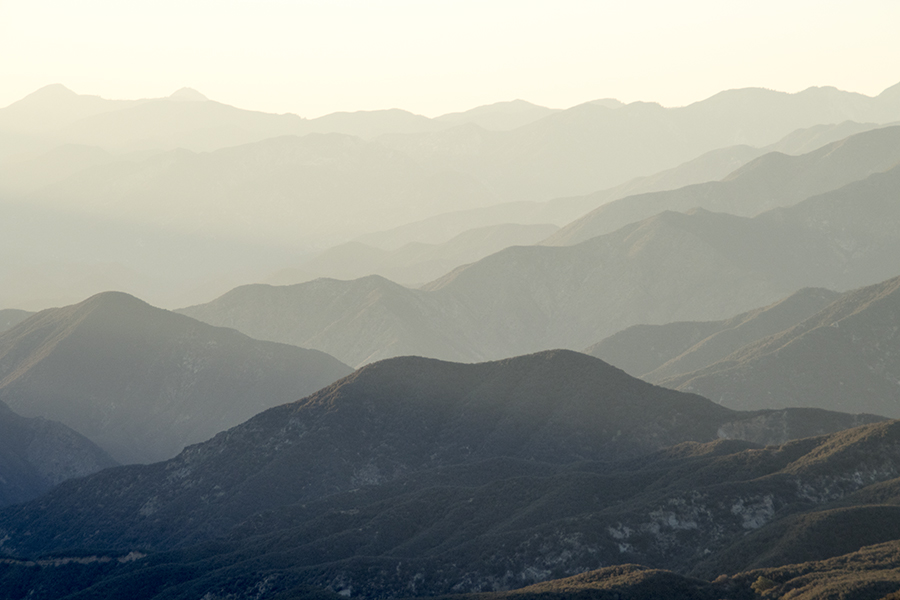 Glendora ridge road near Baldy Village looking westerly
Dehaze came out months ago. For those unaware, it lives in the raw dialog when you open a raw file. Photoshop also has a way to open a jpeg or other file in that dialog. You do your initial adjustments here, and then open in Photoshop for the rest of your work or adding text. Dehaze is a slider control, interestingly enough one could also use it to add haze. I also used the sliders for contrast and a little clarity and color adjustment. But the big thing is the air. the have is reduced to just enough to help the feeling of distance. No layers used. No masking at all.
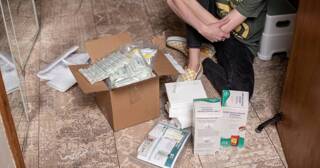
 More like it!
Not bad? My point is for you to think about those shots from a really simple camera in a really cool place that have or glare just killed. The ones you did not delete maybe. This tool lets everyone from a full time pro all the way to the casual consumer to rescue a ton of marginal images. Take another look through your album. See about those outdoor images really brought to life. Enjoy.
Here is a screenshot of the feature.

More of my work: Ballard Light Capture